Thursday, September 30, 2010

Heavenly Cinnamon Rolls

This is how I make cinnamon rolls:

First, I make this dough:
Joyce's Buns

When I took these pictures I was making a double recipe.  You can make a single recipe, the choice is yours.

After you make the dough and let it rise in the fridge it will look something like this:

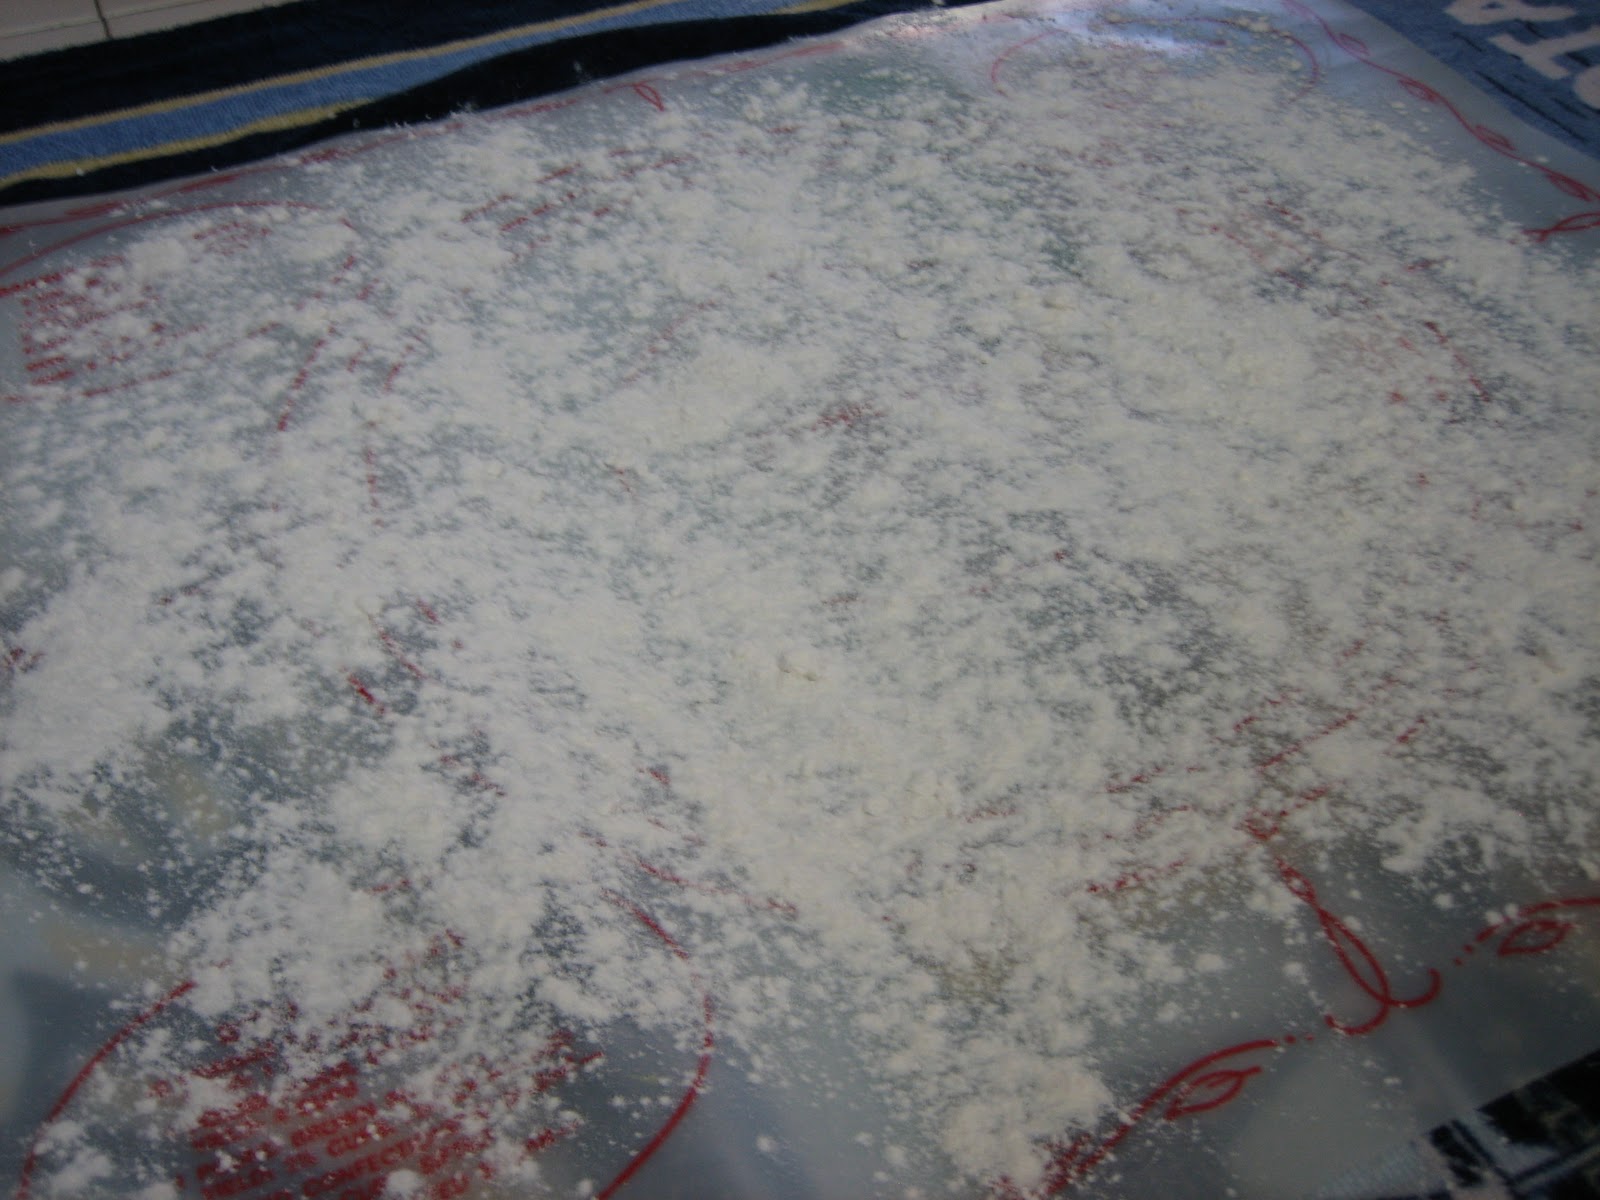
Next you need to flour the surface where you are going to roll out the dough.  Don't be shy, use plenty of flour.  You don't want them to stick to the surface when you start rolling them out.

Punch the dough down then divide it in half or quarters.  Remember, I made a double recipe so I divided it into quarters.  If you make a single recipe, divide the dough in half.  Just use a big knife and cut it up. 

Now it's time to roll the dough out.  This might take a tiny bit of muscle and a little bit of patience.  The dough might bounce back when you roll it, but don't be discouraged, just keep rolling until the dough is pretty thin and you have sort of a rectangle, kind of like this...

Now the real fun begins!  Spread 1/4 cup (1/2 stick) of butter...real butter...onto the dough.  Make it go all the way to the edges.  Every bite should have yummy, delicious butter!

After you've spread the butter, spread 3/4 cup brown sugar over the butter, again going all the way to the edges.

Now sprinkle 2 t. cinnamon over the brown sugar.  Just sprinkle it all around then rub the whole thing with your hand to make sure the cinnamon is evenly dispersed.   Sorry, this is a blurry picture.  My hands were shaking just thinking about all this butter and sugar!

Now you're ready to roll.  Start from one of the long ends and roll that baby up like a snake.  Not like a snake!  I hate snakes!  Roll it up like a cinnamon roll!  I love cinnamon rolls!

Here's a nifty trick for you.  Instead of cutting them with a knife, which will only squish them and make them flat, cut them with thread or dental floss.  I used red thread so you could see it in the picture.  Just slide the thread under the snake, I mean cinnamon roll, and cross it over itself then pull.  It will cut it perfectly every time.  Cut them about 1" thick, maybe a little bit thicker. 


Place them in a greased 9x13 pan.  You can fit a dozen in each pan.  Repeat the process with the remaining dough.  Now let them rest and rise for about 1 1/2 to 2 hours.

Here are all 24 of my little guys waiting to rise and then be popped in the oven.  

The ends of the snake...I mean roll...are always kind of ugly and deformed.  I put all the ends in this pan so I could give away the pretty ones and feed the ugly ones to my family.  Is that mean?  No, that's not mean.  They taste just as good as the pretty ones.  Don't judge a cinnamon roll by it's cover!  

Here are the pretty ones after they have finished rising.  The warmer it is in your house, the faster they will rise.

Now bake them in a preheated 350 degree oven for about 20 minutes until they are golden brown.  Just wait until you smell them baking.  They will make your house smell heavenly.  That's why I call them heavenly cinnamon rolls.  That and the fact that when you eat them you think you have died and gone to heaven.

Now for the icing.  Mix 1 stick softened butter with one box of powdered sugar, 1 t. vanilla and enough milk to make it the right consistency.  Don't add too much milk to start.  Begin slow and keep adding until it's the way you like it.  You want it a little thinner than regular frosting but not runny.  How pretty are these little cinnamon rolls?  And they taste better than they look!  Oh, and once they are no longer warm from the oven, just pop them in the microwave for about 30 seconds and they will taste like you just baked them.  They taste much better when they are warm, but they're still good even at room temperature!

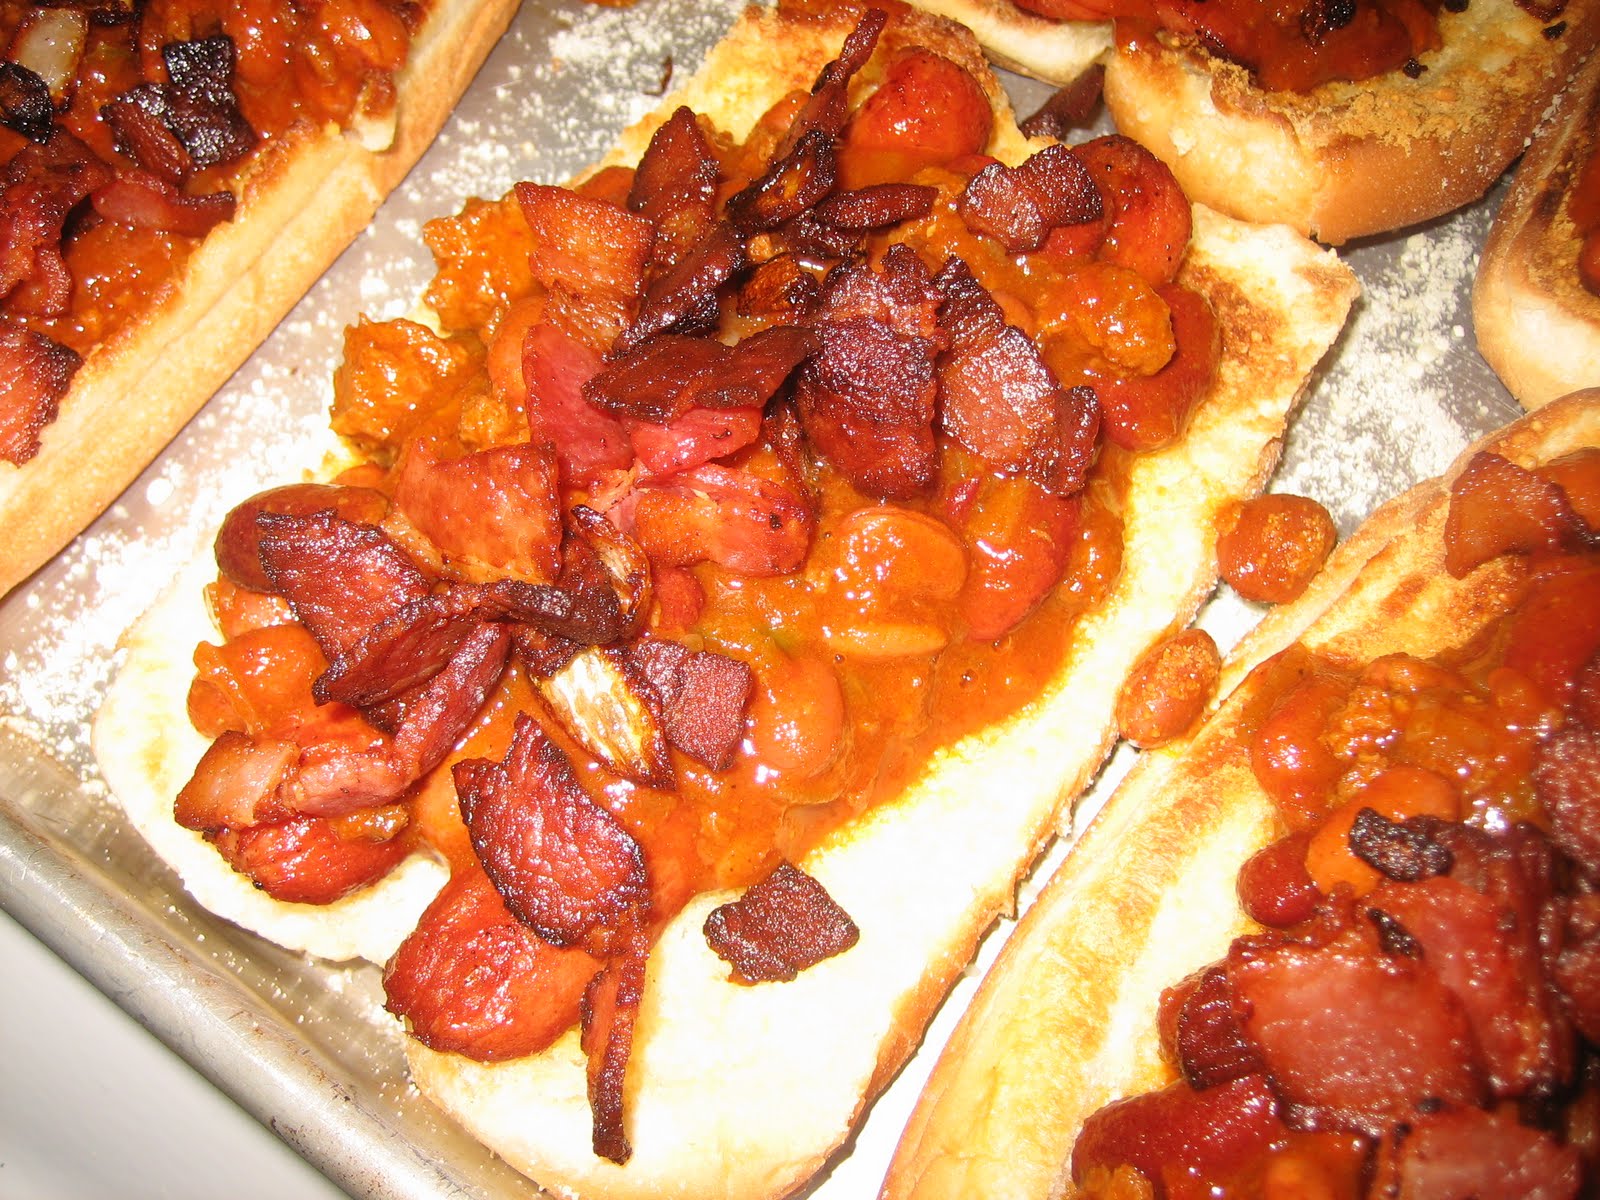
Here's a picture of the ugly ones after they were baked.  The picture isn't very good, but you can see that once they have risen and been baked they're not so ugly any more.  My family scarfed them down big time!  It was a cinnamon roll feeding frenzy, yes it was!


From whence it came:  The fabulous dough recipe came from my Aunt Joyce, and one day, quite a long time ago, I figured out how to turn it into heavenly cinnamon rolls. 

Why it's blogable:  What a silly question!  These really are just so yum-e.  I made them last week for The Spy Who Loves Me.  He had some secret spy meeting with all his little spy friends and they turned it into a spy potluck breakfast.  Spys do potlucks!  Who knew?  Anyway, The Spy Who Loves Me signed up to bring these, and being the good spy wife that I am, I made four dozen.  The feedback from the other spys was positive, so I guess we can conclude, after a top secret investigation, that they are spy worthy.   

Don't be afraid to try making these.  They do require a little bit of work, but they are not difficult, and they are so so worth it!  My teen daughter is a huge fan of them, and my teen son loves 'em, too!  Oh, and my sonny-in-law is also a member of the cinnamon roll lovin' club!  Basically, they're always a huge hit!

Hope you enjoy stirring it up!

Tuesday, September 28, 2010

Pumpkin Squares

Mix:
2 c. sugar
1 c. oil
4 eggs

Add:
2 c. canned pumpkin

Add:
2 c. flour
2 t. baking powder
1/2 t. salt
1 t. soda
2 t. cinnamon

Spread in greased jelly roll pan (15"x10"x1") and bake at 350 degrees for 30 minutes. 

Frost with cream cheese frosting when cool.

Cream Cheese Frosting

Mix together:
1 8 oz. package cream cheese, softened
1 cube butter, softened

Add:
1 box powdered sugar
2 t. vanilla

Beat until smooth and well blended. Spread on cooled cake.  Sprinkle with chopped pecans or walnuts if desired.

From whence it came:  My cousin, Michelle Harper, gets all the credit for this fabulous recipe!  Michelle shared this recipe with me years ago and I've made it zillions of times since.  Michelle is a really good cook and once you make her Pumpkin Squares you will know I'm not lying!

Why it's blogable:
  Because you simply can't get through the holidays without this recipe.  It's super simple to make and it feeds at least 24 people, and that's if the squares are big.  If you cut them small, it feeds even more.  I like to cut them big because then I can say to myself, in my most proud voice, "Good job, Pam, you only had one pumpkin square."  No one needs to know that I cut the pan down the middle and ate half of the batch.  It's still just one pumpkin square.  Do you see how many little tricks you learn from reading my silly blog?  You're welcome for the tricks, and you're especially welcome for this treat!

Here's the printable:

Hope you enjoy stirring it up!

Thursday, September 23, 2010

Caramel Corn


8 cups popped popcorn
3/4 c. packed brown sugar
6 T. butter
3 T. light corn syrup
1/4 t. baking soda
1/4 t. vanilla
3 c. roasted almonds

Remove all unpopped kernels from popped corn.  Put popcorn into a 17x12x2 inch baking pan.  (A turkey roaster works best!)  In a 1 1/2 quart sauce pan combine sugar, butter, corn syrup and 1/4 t. salt.  Cook and stir over medium heat till butter melts and mixture comes to boiling.  Cook, without stirring, for 5 minutes more over low heat.  (Mixture should continue to boil during these 5 minutes.)  Remove from heat.  Stir in baking soda and vanilla.  Pour over popcorn; gently stir to coat popcorn, and nuts if you want to add them.  Bake in a 300 degree oven for 15 minutes; stir.  Bake 5-10 minutes more.  Stir one more time and dump corn into a large bowl.  Cool.  Makes 8 cups.

From whence it came:  I found this recipe in my Better Homes and Gardens Cookbook, you know, that very famous red and white checkered cookbook that everyone seems to have and that you see everywhere.  I got that cookbook for a wedding gift and do you know that I think this might be the only recipe I have ever made from it.  I might have made a coffee cake recipe once upon a time, but I can't remember for sure.  Either way, that cookbook is worth having just for this recipe alone.  I really is!

Why it's blogable:  I think if you were to ask people who know me what recipe I am most famous for making, they would say this one. Have I said that before?  If so, then I lied.  I have made at least a million batches of this stuff, possibly two, over the past bunch of years.  I usually only make it starting in the fall and through Christmas.  I rarely make it at other times.  To me, it's a fall recipe.  It also gives me a good excuse to take a break from making it, because after you've made it a million times, or two, you need a break!  Once upon a time I sold this caramel corn at boutiques, but now I just make it for people I love.  When my baby boy (who at this very minute is 16-years old) was still just a little boy, maybe two or so, he would see me making it and he would come into the kitchen and slap my leg and say, "Bite bite!  Bite bite!"  He just loved it!  And he still does!  This is one of my very very best recipes!  It's not hard to make.  Just follow the directions exactly and you'll have delicious caramel corn before you know it.  Oh, and one more thing, it'll make you popular!  Make this for people and they will love you forever and always!

A few more tips:
  I ALWAYS triple the recipe and I cook it in a big turkey roasting pan.  I add almonds which I have roasted on a cookie sheet for about 10 minutes at 350 degrees.  (Or you can buy the pre-roasted ones at Trader Joes.  If you do that, use one whole bag of almonds per triple recipe)  This is a no fail recipe.  Sometimes, if the weather is humid, the caramel corn will turn out a little bit sticky.  It is best to make it when the weather is hot and dry, but you really can do it anytime.  

Click here to get the printable:
Hope you enjoy stirring it up!

Tuesday, September 21, 2010

Easy Caramel Pecan Brownies

1  pkg.  (19 to 21 oz.)  brownie mix (13x9-inch pan size)
1 pkg. (11 oz.) KRAFT Caramel Bits
1/3 cup whipping cream
2 cups pecan Halves, divided

PREHEAT oven to 350°F. Line 13x9-inch baking pan with foil, with ends of foil extending over sides of pan. Generously grease foil. Prepare brownie batter as directed on package; spread half of the batter into prepared pan. Cover remaining batter; set aside.

BAKE 20 min. or until top is firm to the touch. Meanwhile, microwave caramel bits and whipping cream in medium microwaveable bowl on HIGH 2 min., stirring every 30 sec. or until caramel bits begin to melt; stir until completely melted. Add 1 cup of the pecans; mix well. Spread over partially baked brownie; top with remaining brownie batter. (Some caramel may peek through batter.) Sprinkle with remaining pecans.

BAKE an additional 25 min. or until top is firm to the touch. Cool completely. Use foil handles to lift dessert from pan before cutting to serve. Store in covered container at room temperature.

From whence it came:  I found this divine recipe on the back of the Kraft Caramel Bits package.  I thought it looked yum-e, and I was right!  I bought the Caramel Bits at Super Walmart.  You can probably find them wherever you shop.
Why it's blogable:  If you're into chocolate mixed with nuts and ooey, gooey caramel, I don't need to tell you why it's blogable.  Is there a better combination than chocolate, caramel and nuts?  I think not!  These very easy to make, and my family went nuts for them.  Get it?  Nuts for them!  They have nuts!  Get it?  The Spy Who Loves me was especially head over heals for these brownies.  Oh, and did I mention the edges?  The edges are kinda crispy and gooey all at the same time.  The edges have got it goin' on!  This recipe is similar to this recipe, but different enough that they both deserve a place of honor on my little blog.

You can print it here if you want to!

Hope you enjoy stirring it up!

Wednesday, September 15, 2010

Hot Fudge Sauce

8 ozs. semi sweet chocolate chips
10 T. butter
½ c. unsweetened cocoa powder
1 ½ c. sugar
¾ c. water
½ c. light corn syrup
4 t. vanilla extract

In a heavy saucepan, combine the chocolate, butter, cocoa, sugar, water and corn syrup.  Wisk over medium-high heat until the chocolate and butter are melted and the sugar is dissolved.  When the sauce just comes to a boil, reduce the heat to low and cook at a low boil for 8 to 10 minutes; the sauce will thicken as it cools.  Add the vanilla and stir to combine.  Store in refrigerator tightly covered.

From whence it came:  I'm not gonna tell ya!  Here's the deal.  I found this recipe in a cookbook, but I changed it and, in my opinion, made it better, so I'm going to take the credit for this one.  A teeny tiny bit of credit goes to that skinny lady who bakes really good cookies, but the rest of the credit goes to that not so skinny lady who writes this blog.  And that's all I'm gonna say about that!

Why it's blogable:
  Because it's the best hot fudge sauce I've ever tasted.  Oh, and it's so easy to make.  And did I mention that you can just eat it with a spoon?  I'm not saying that I'm speaking from experience, I'm just saying you can.  And if you make it, you probably will.  And if you don't, something is very wrong with you.  Seek help!  You have issues!  Maybe I'm the one with issues.  Either way, you've just gotta try this on ice cream.  Or with a spoon.  Now let's not go there again!

If death by chocolate sounds fun:  Make these brownies then top them with a scoop of ice cream and pour this fudge on top.  You'll die with a smile on your face!

Hope you enjoy stirring it up!

Saturday, September 11, 2010

Stir Fry Goodness!

I love stir fry!  Love it!  You don't need a Wok to make a delicious stir fry dinner.  I just use my electric skillet but really any large frying pan will do.  And I just discovered a secret to making a fabulous stir fry meal...
These Panda Express Sauces are to die for!  I have tried the Kung Pao and the Orange Sauce and they were both so yum-e!  I bought them at the grocery store but my married daughter told me she found the Orange Sauce at Costco in Utah.  I looked at our Costco but didn't see it.  Hopefully they will carry it soon!

Here's what I did:

I cut up two pieces of boneless, skinless chicken breasts into bite size pieces.  I also cut up half of a large onion and then I browned them in my skillet with a little bit of olive oil.
 Once the chicken was nice and brown I added 2 chopped zucchini and a small can of water chestnuts and continued to cook it until the zucchini began to brown and became a little bit tender.
Next I added a little less than 1/2 the bottle of Kung Pao Sauce and mixed it all together.  I let it cook for a few minutes then added a handful of peanuts..
Serve it over rice and you have super yum-e and really healthy Kung Pao Chicken Dinner!

For the Orange Chicken...

I did basically the same thing except instead of zucchini, water chestnuts and peanuts I used carrots, celery and orange, red and yellow peppers.  I still used the same amount of chicken and onions, then once they were brown I added the carrots and celery and cooked it until the carrots were slightly soft.  Then I added the peppers and cooked it for a couple of minutes before adding the sauce.

My whole family loved these dinners!  My teen daughter went crazy for the Orange Chicken, but she loved the Kung Pao, too.  These meals were a big hit with my family.  These recipes fed four of us with a little bit leftover.

I really encourage you to give this a try.  You can serve it with some fresh fruit and/or a green salad and that's about all you need for a great dinner that will make you a true hero in the eyes of your hungry family!

Hope you enjoy stirring it up!

Wednesday, September 8, 2010

Alan Jackson's Chocolate Cake and Frosting

Cake:
2 cups flour
2 eggs
2 cups sugar
1/2 teaspoon salt
1 cup water
1 cup butter ( divided)
1/2 cup vegetable oil
1/2 cup cocoa ( divided)
1/2 cup buttermilk
1 teaspoon baking soda
2 teaspoons vanilla ( divided)
1 teaspoon cider vinegar
6 tablespoons milk
1 (16 ounce) box powdered sugar

Sift flour, sugar and salt together in mixing bowl. Heat water, 1 stick butter, oil, 1/4 cup of the cocoa. Boil, stirring constantly. Pour into flour mixture and stir until smooth. Blend in buttermilk, eggs, baking soda, 1 teaspoon of the vanilla and vinegar until smooth. Pour into a greased and floured 13x9x2 inch baking pan. Bake at 350 degrees F for 35 minutes or until a toothpick inserted in center comes out clean. Cool completely.

Frosting:
In a sauce pan, over medium-high heat, melt remaining 1 stick of butter, add the milk and the remaining 1/4 cup cocoa and bring to a boil. Remove from heat. Stir in powdered sugar and the remaining 1 teaspoon vanilla. Stir until smooth. Pour over the cake. Enjoy!

From whence it came:  I searched the Internet this past weekend for a new chocolate cake recipe and this one popped out at me, so I just had to try it.  I am a lover of country music!  Those country music folks really do know how to cook.  Tim McGraw (who I love more than chocolate chip cookies) is famous for his Chicken and Dumplings.  Trisha Yearwood has her own cookbook!  And Alan Jackson has this yum-e chocolate cake!

Why it's blogable:  This cake is a lighter chocolate cake than this cake, but it is still really good.  The frosting is almost exactly like this frosting.  It hardens up like fudge and has a great flavor.  It was really easy to make and everybody licked their lips...and their plates...when they were done!

Breaking news:  I'm so happy!  A few days after I made this cake my teen daughter told me that she really likes it and that it has replaced that ridiculous Funfetti Cake as her favorite cake.  I'm giddy!   Positively giddy!

Click here to get the printable:
Alan Jackson's Chocolate Cake and Frosting

Hope you enjoy stirring it up!

Thursday, September 2, 2010

Sam the Cooking Guy Chili Dogs

1 package Hebrew National Hot Dogs
1 package hot dog buns
1 pound bacon
1 medium onion, chopped
2 cans chili
Grated cheddar cheese

Cut bacon into 1" pieces and fry in pan with onion until bacon is crispy.  Remove from pan and place on paper towels to absorb extra bacon grease.


Drain most of bacon grease from pan.  Slice hot dogs the long way, but don't slice all the way through.  Place sliced side down in frying pan and cook on both sides until brown.


While hot dogs are browning, place hot dog buns on cookie sheet.  Butter buns then sprinkle with Parmesan cheese.  Place in broiler until brown and crispy.

I forgot to take a picture after the buns were browned, but this is what they look like going into the broiler.  Just brown them, don't burn them. 

Place the chili in a microwave container and heat in microwave until very warm.


Place browned hot dogs into browned buns.  Spoon chili on top of hot dogs, then sprinkle with bacon and onion mixture.


Sprinkle with cheddar cheese.


Place back in broiler just until cheese is melted.

Eat with a fork and knife.  Or, if you're really brave, use your hands.  Extra napkins required!

From whence it came:  If you don't live in San Diego you might not know about Sam the Cooking Guy.  And if that's the case, I'm sorry.  If I was going to be honest I would have to admit that I have a little crush on Sam.  I am a softie for a man who can cook...and grill...and broil...and bake!  Sam has a little local cooking show on a little local San Diego station that broadcasts the Padres games.  He's hot!
Did I just say he's hot?  I'm so sorry.  I just got carried away thinking about Sam and his kitchen.  I'll tell you a little secret, but you have to promise not to tell The Spy Who Loves Me.  The Spy is in the process of ordering new glasses.  (Yes, The Spy is a four eyed Spy.)  I'm leaning him toward a pair of glasses similar to Sam's, but I'm not telling him about the Sam part.  I'm just telling him they are cool.  And they are.  And so is Sam!

Why it's blogable:  My teen son and I were watching Sam one night when he made these chili dogs and my teen son got down on his hands and knees and begged me to make these.  I'm not a huge lover of hot dogs.  I'm what you might call a hot dog snob.  I will only eat Hebrew National hot dogs and I like the low fat ones the best.  They taste just as good as the regulars but lots less fat and calories.  (Until you cover them with bacon, chili and cheese.  Then all bets are off!)  Anywho, I can't say no to my boy so we made these chili dogs and the teen son and The Spy instantly fell in love.  I hadn't made them again for quite a while because they are about as hard on your heart as any recipe I've ever tried, but then we went on vacation to the cabin in the woods and I just knew this would be the perfect cabin dinner.  And it was.  Everyone loved 'em.  Everyone, that is, except our cardiologist.  I told you, they are not heart friendly.  This is a once a year, special occasion, cabin in the woods, camping near a creek, teen son begging on bended knee kind of meal. 

Hope you enjoy stirring it up!